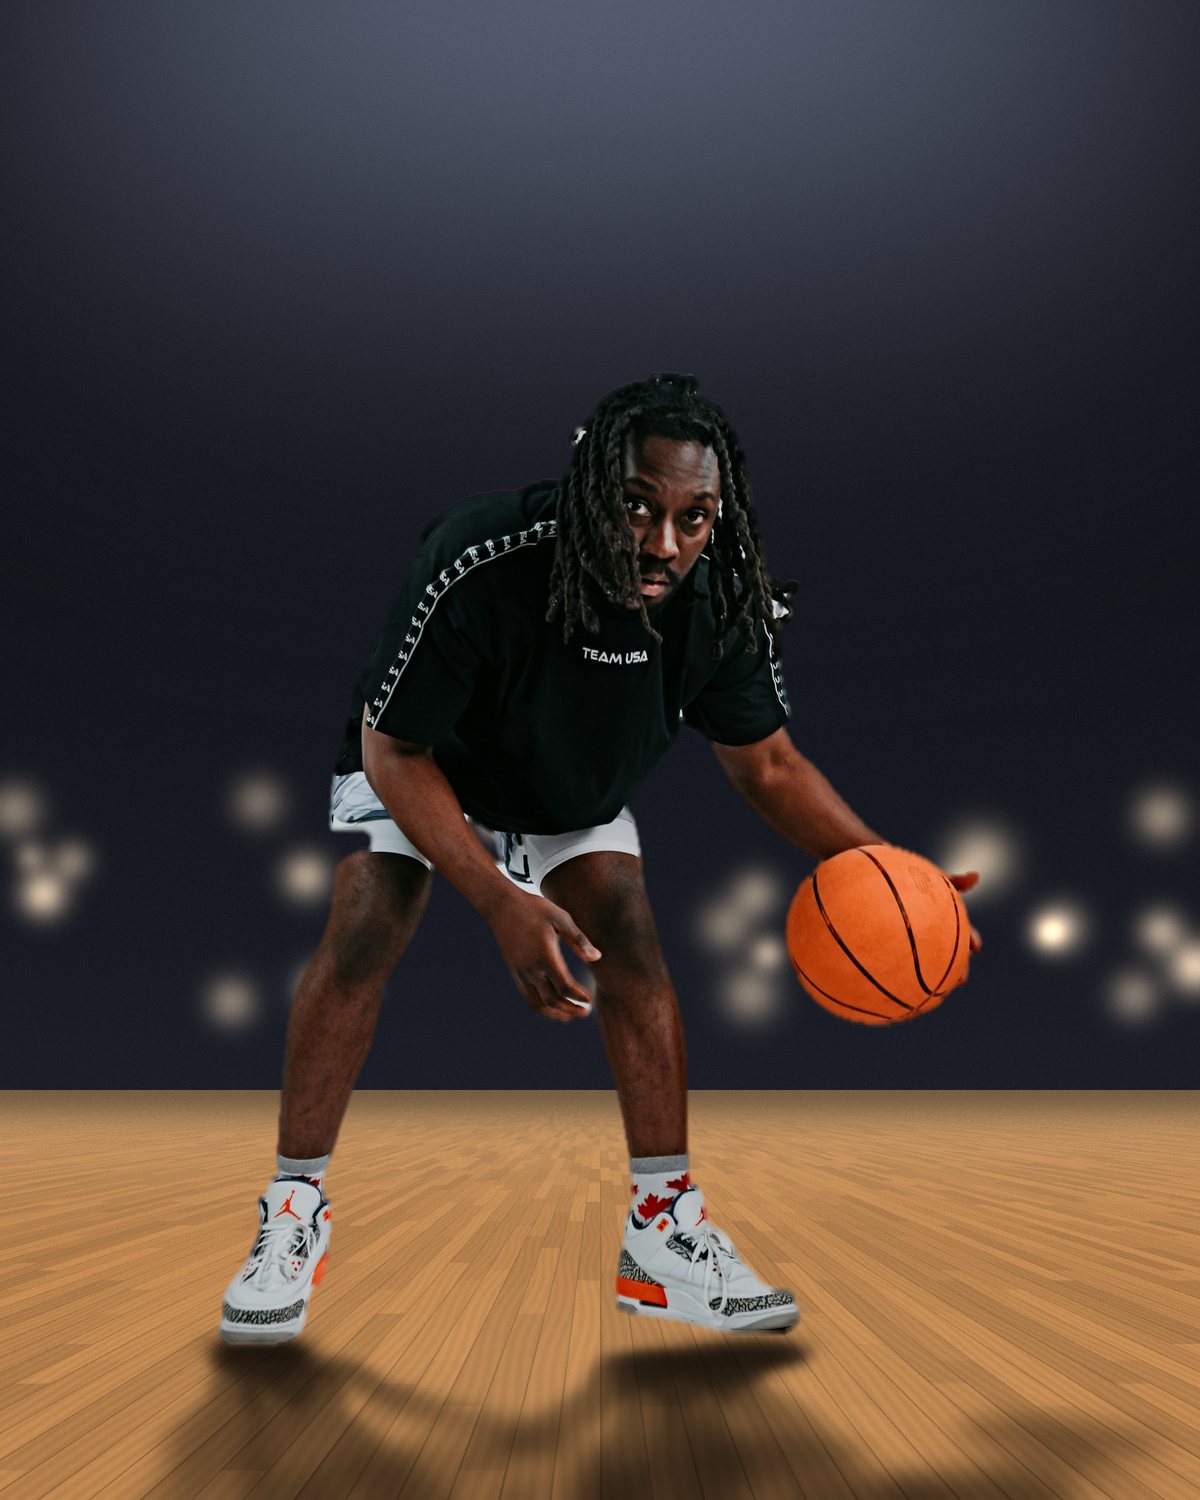
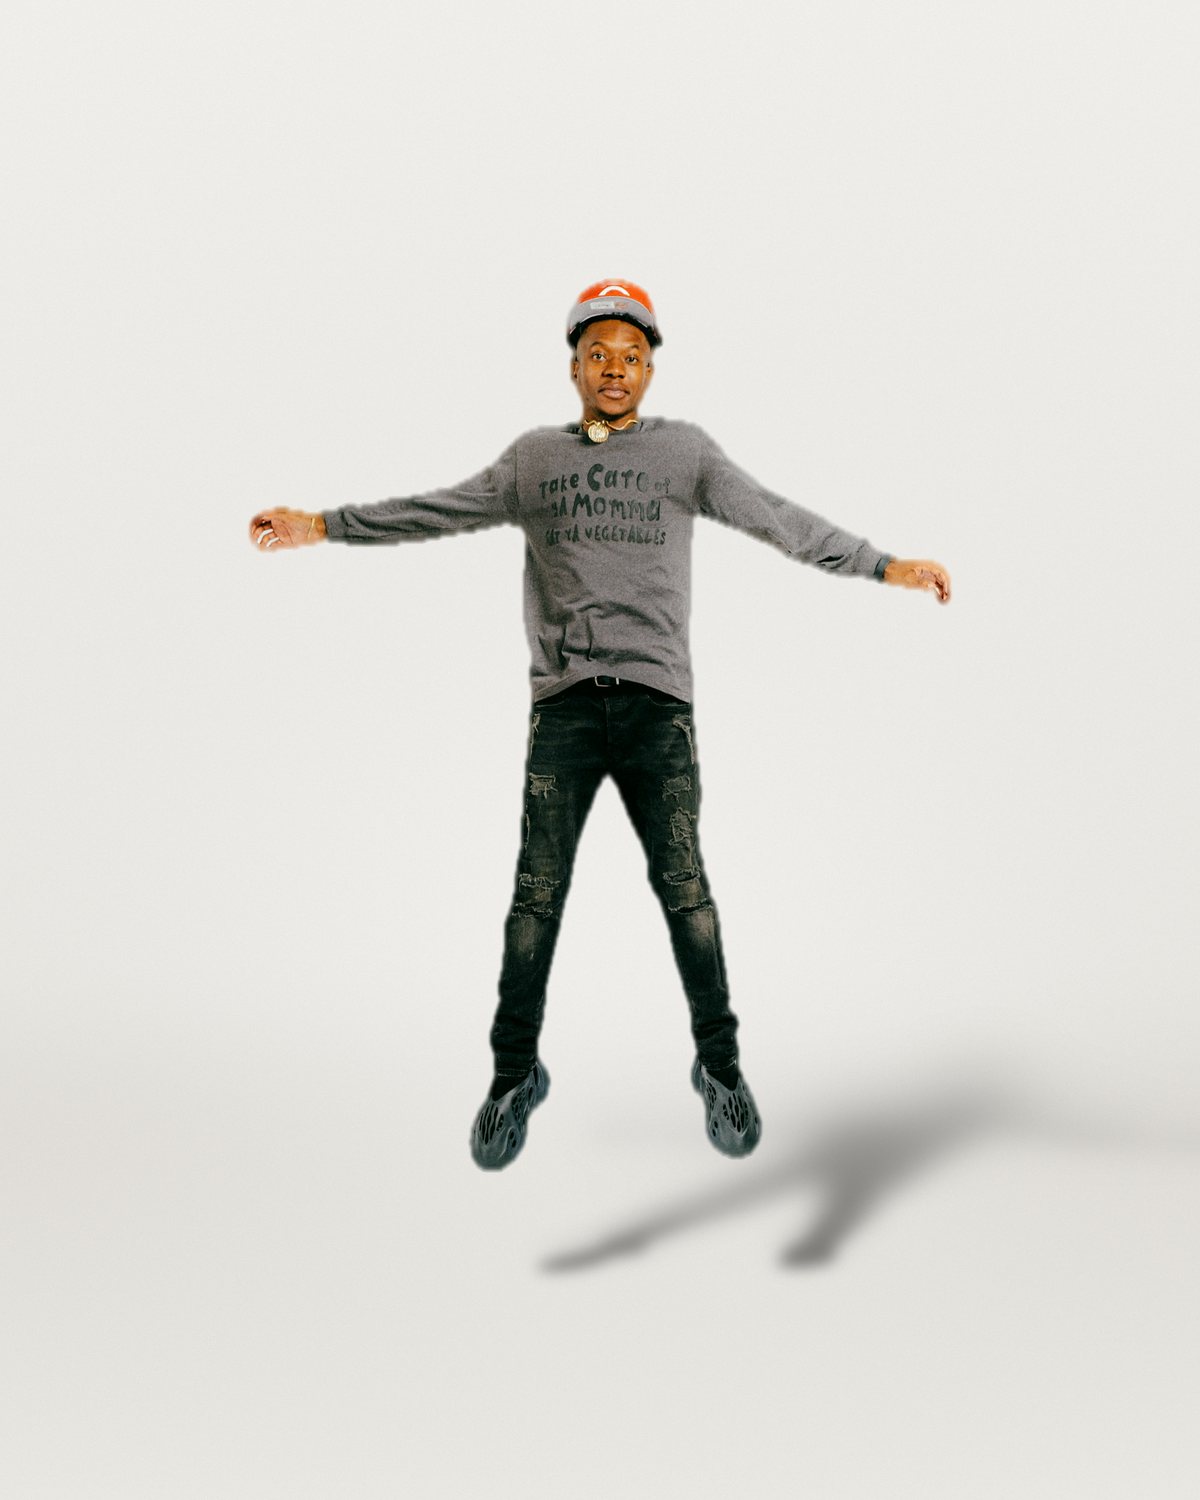
The difference between a cut-out that looks pasted on and one that stands in the scene is almost always the shadow. A real one has three parts: a dark contact shadow where the subject touches the floor, a cast shadow lying along the floor away from the light, and a softness that grows the further it falls. Get those right and the eye stops asking questions.
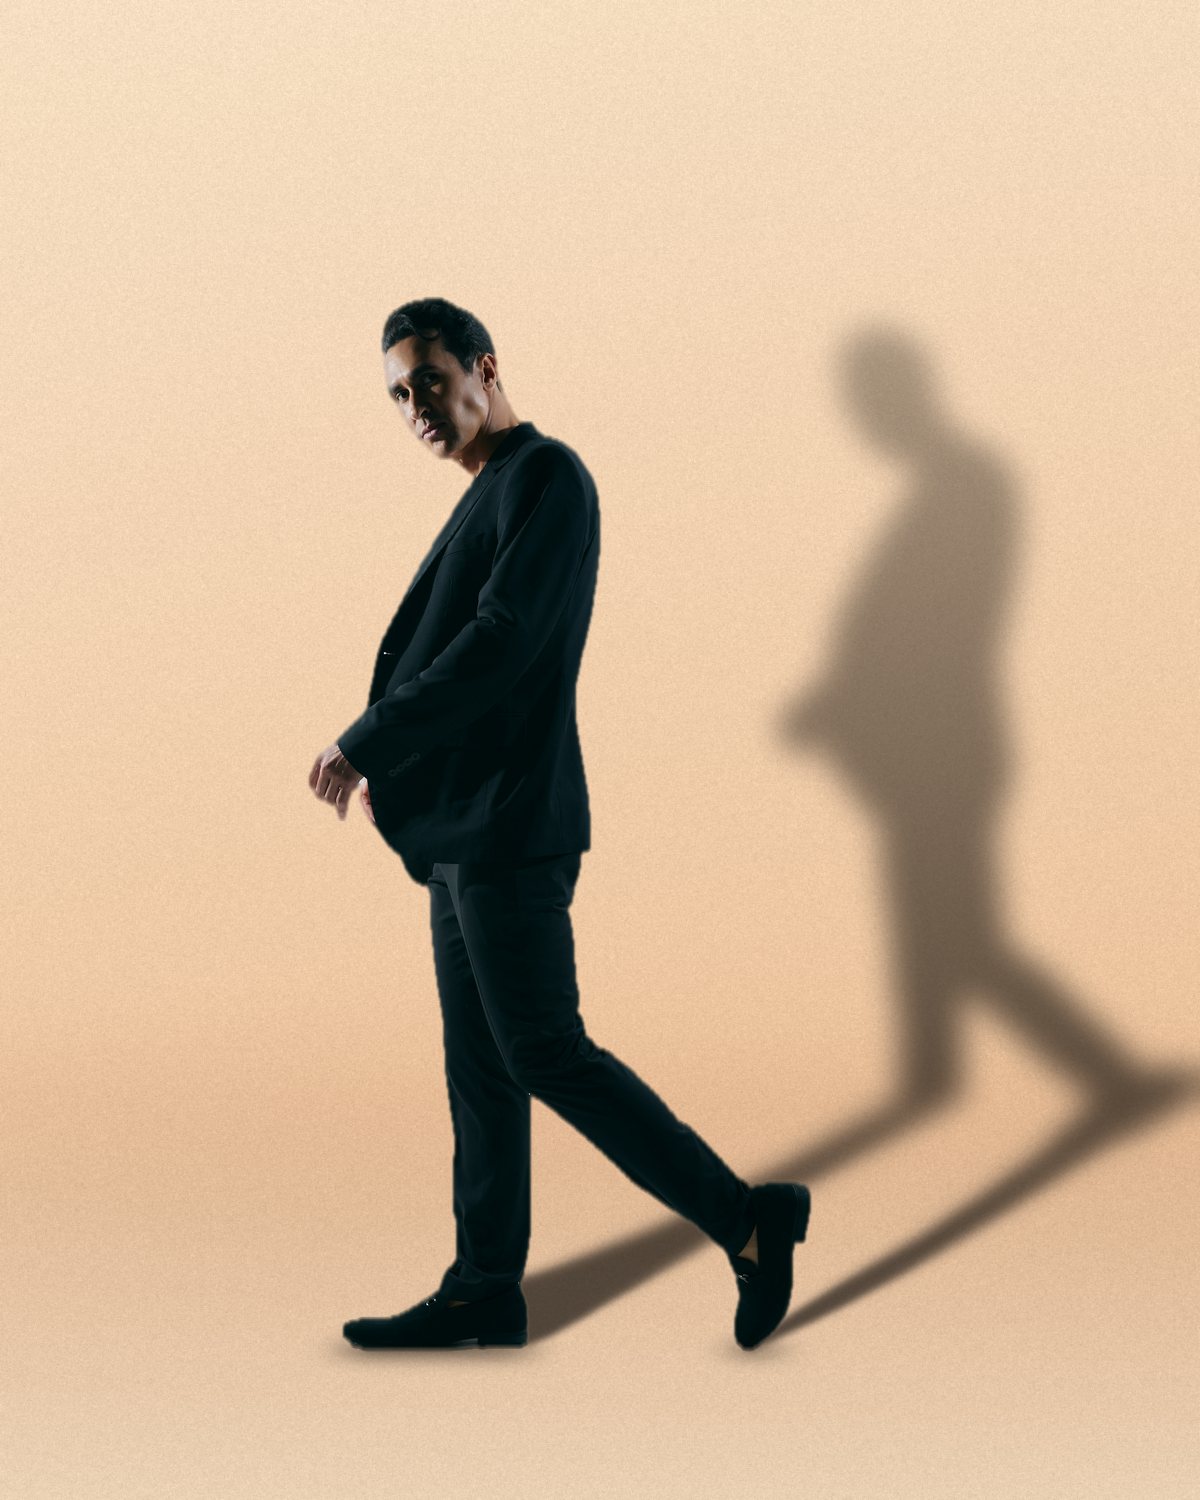
 Before
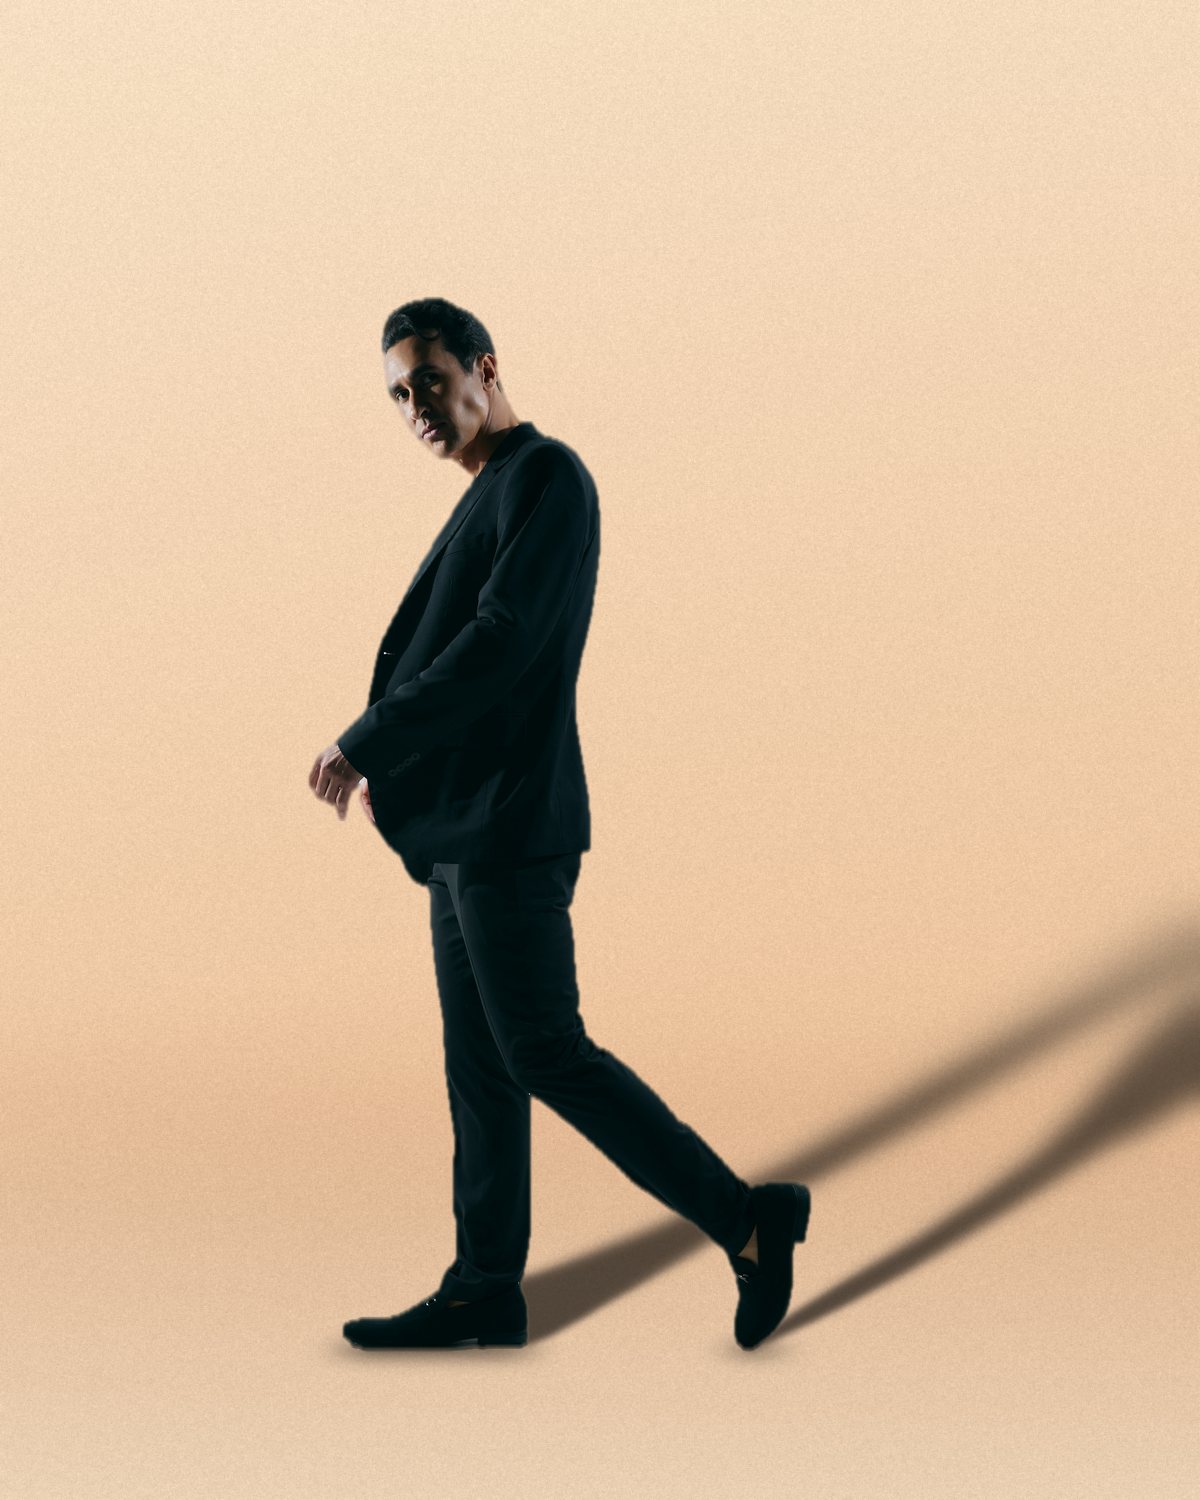
 After
What makes a shadow look real
| Part | What it does | When it's missing |
|---|---|---|
| Contact | A thin, near-black line and pool right under the feet | The subject hovers over the floor |
| Direction and length | Falls away from the light, longer when the light is low | The shadow argues with the lighting on the subject |
| Softness | Sharp at the feet, softer and lighter toward the far end | One even blur makes it look like a sticker |
| Perspective | Narrows as it runs back, spreads as it comes toward you | A flat slant looks drawn on |
| Blend mode | Multiply, so the floor's texture shows through | A grey patch painted over the floor |
Make a cast shadow by hand
- Put the subject on its own layer: Select > Subject, then copy it to a new layer with Cmd/Ctrl+J.
- Make the shadow: duplicate that layer, drag the copy under the subject, Cmd/Ctrl-click its thumbnail to load its shape and fill it with black (Edit > Fill).
- Lay it on the floor: Edit > Free Transform (Cmd/Ctrl+T), hold Cmd/Ctrl and drag the top-centre handle down and out, away from the light. Keep the feet where they are: that line is where the subject and its shadow meet.
- Soften it with distance: blur the shadow (Filter > Blur > Gaussian Blur), and use a gradient on its layer mask so the far end fades and softens more than the feet.
- Set the shadow layer to Multiply and lower its opacity until the floor shows through.
- Ground it: on a new Multiply layer, paint a small, soft, dark pool right under the feet. That contact shadow is what stops the subject floating.



Why not Drop Shadow? The layer style (the fx button at the bottom of the Layers panel) offsets a blurred copy of the layer behind it. That suits a card or a logo lifted off a page, but it can't lie down on a floor. You can split it onto a layer of its own with Layer > Layer Style > Create Layer and distort that, as Adobe shows here, but you're back to the manual method.
When the shadow reaches a wall
Indoors, a long shadow runs out of floor. Where the floor meets the wall, a real shadow bends and climbs it, a part most tutorials skip. By hand, cut the shadow layer along the line where the wall meets the floor and transform the upper piece on its own: stand it up the wall, and keep it as soft as the floor part had become by then.
Jumps, dunks and anything in the air
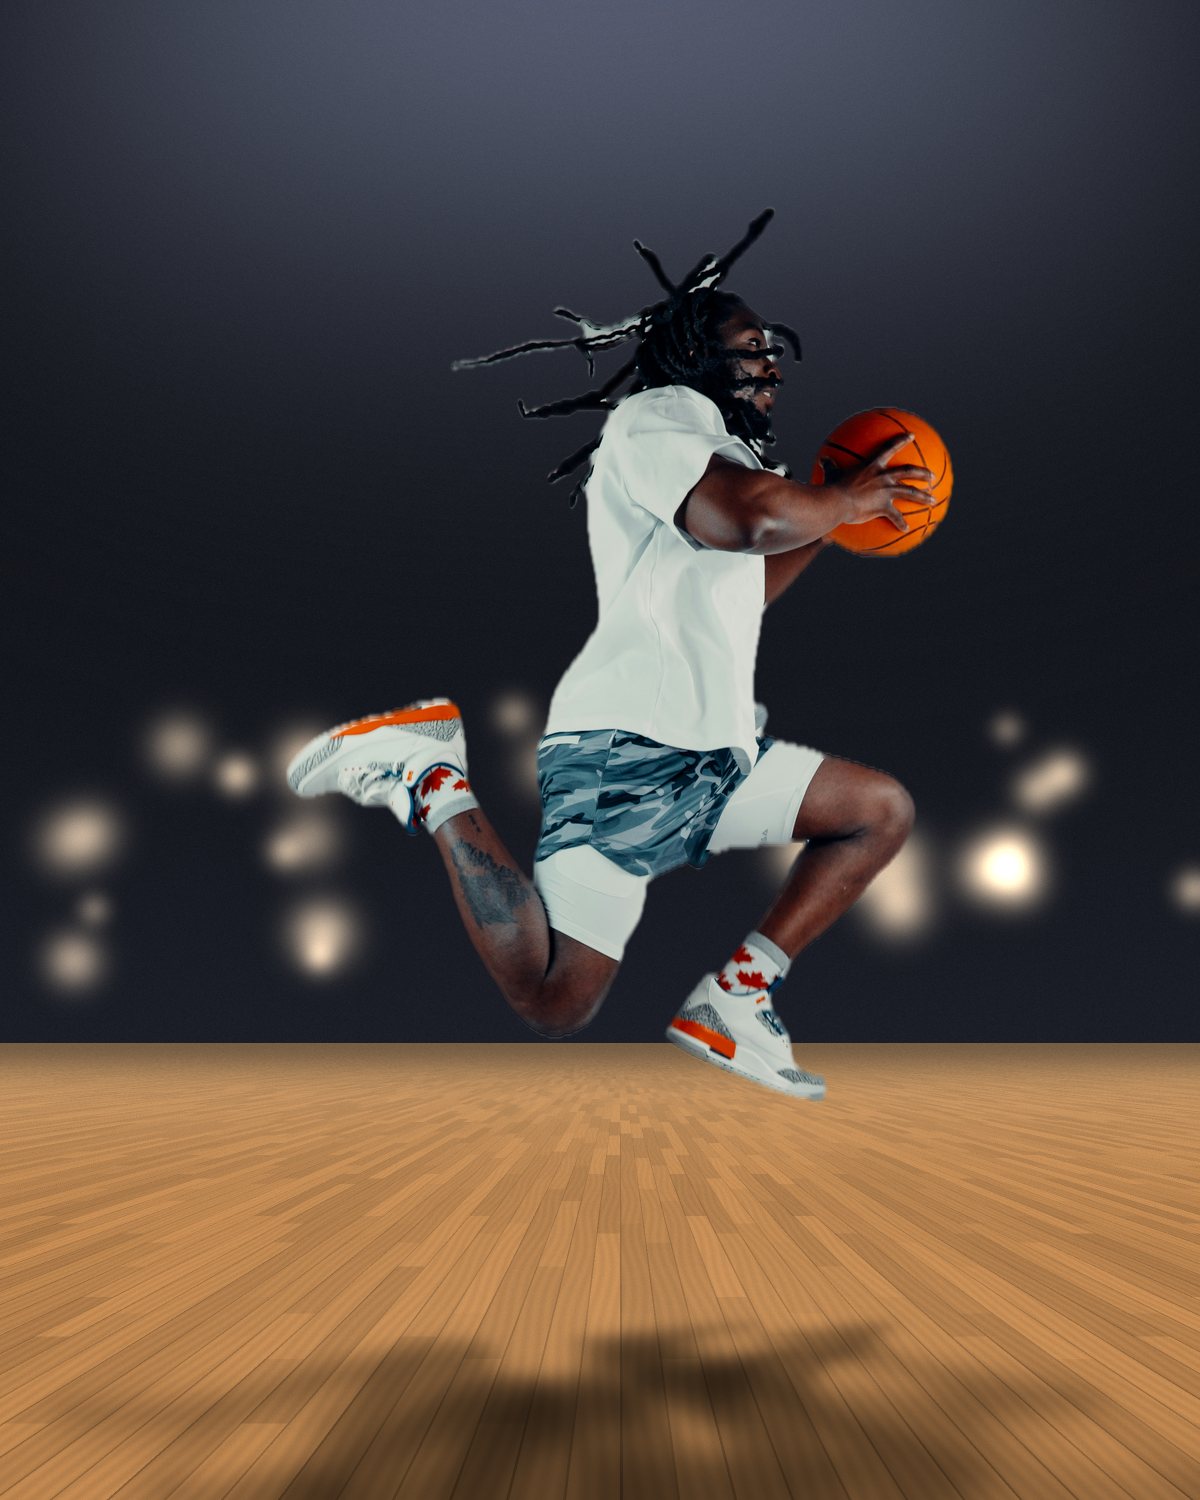
When the subject is off the floor, the shadow comes away from the feet. It starts on the floor below, softer and lighter for the height, and there's no contact shadow at all. Move the shadow layer down by the height of the jump, then blur and fade it more than you would for someone standing.
Cars, boxes and products
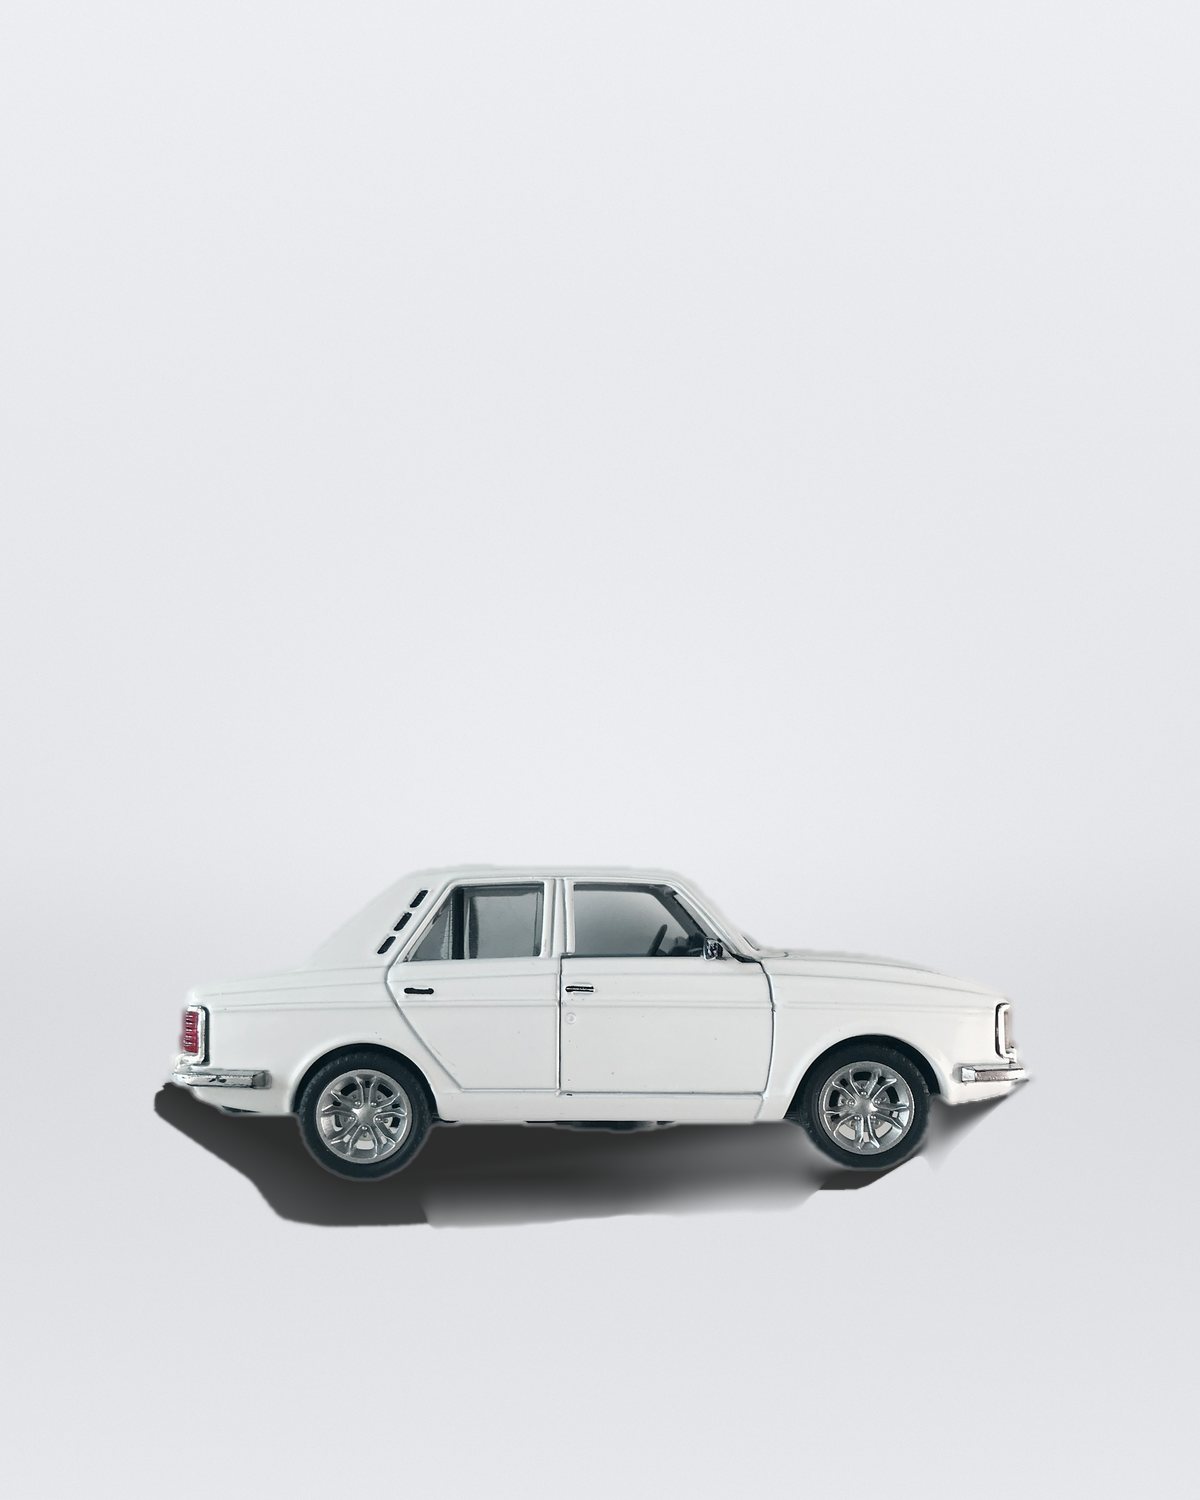
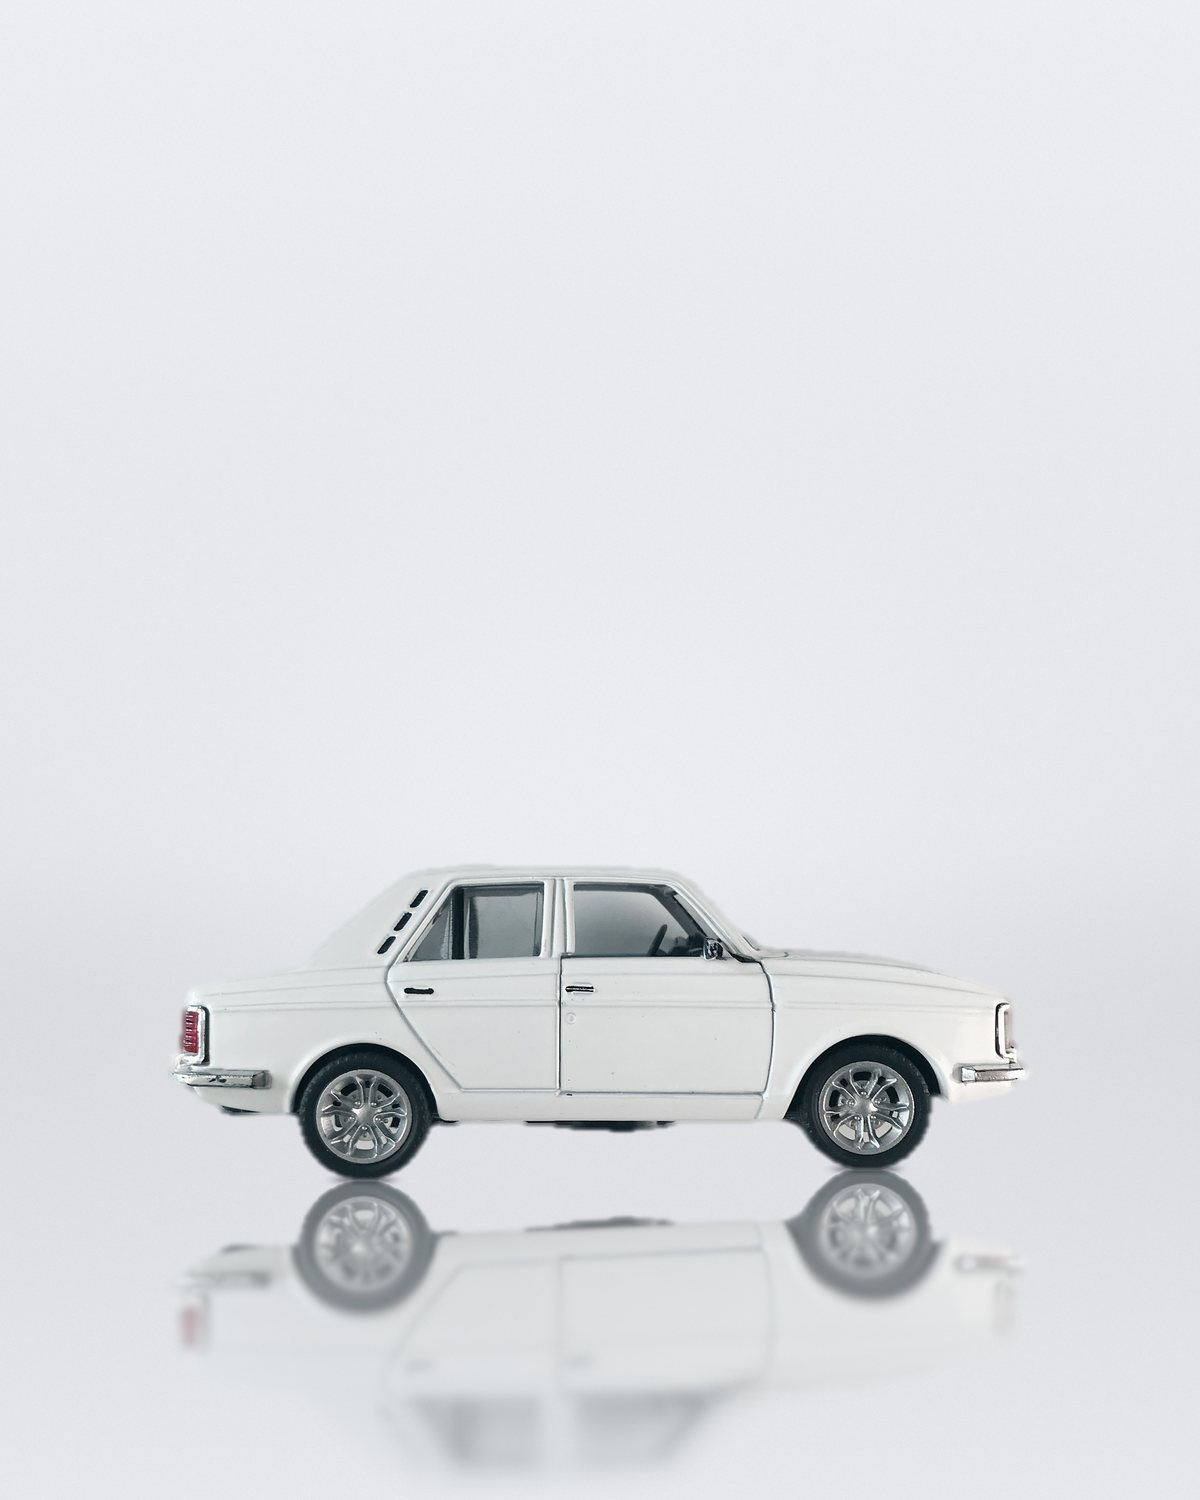
A flat copy of the outline works for things that are thin compared with the light, like a person. A car or a box is a solid: its shadow is as wide as the object really is, and the ground right under it goes dark. Photoshop's old 3D tools could catch a shadow like that on a ground plane, but Adobe has removed them, so today it's painted by hand: a dark footprint under the body, darkest under the tires, and a softer shadow beyond it on the side away from the light.
The one-step version
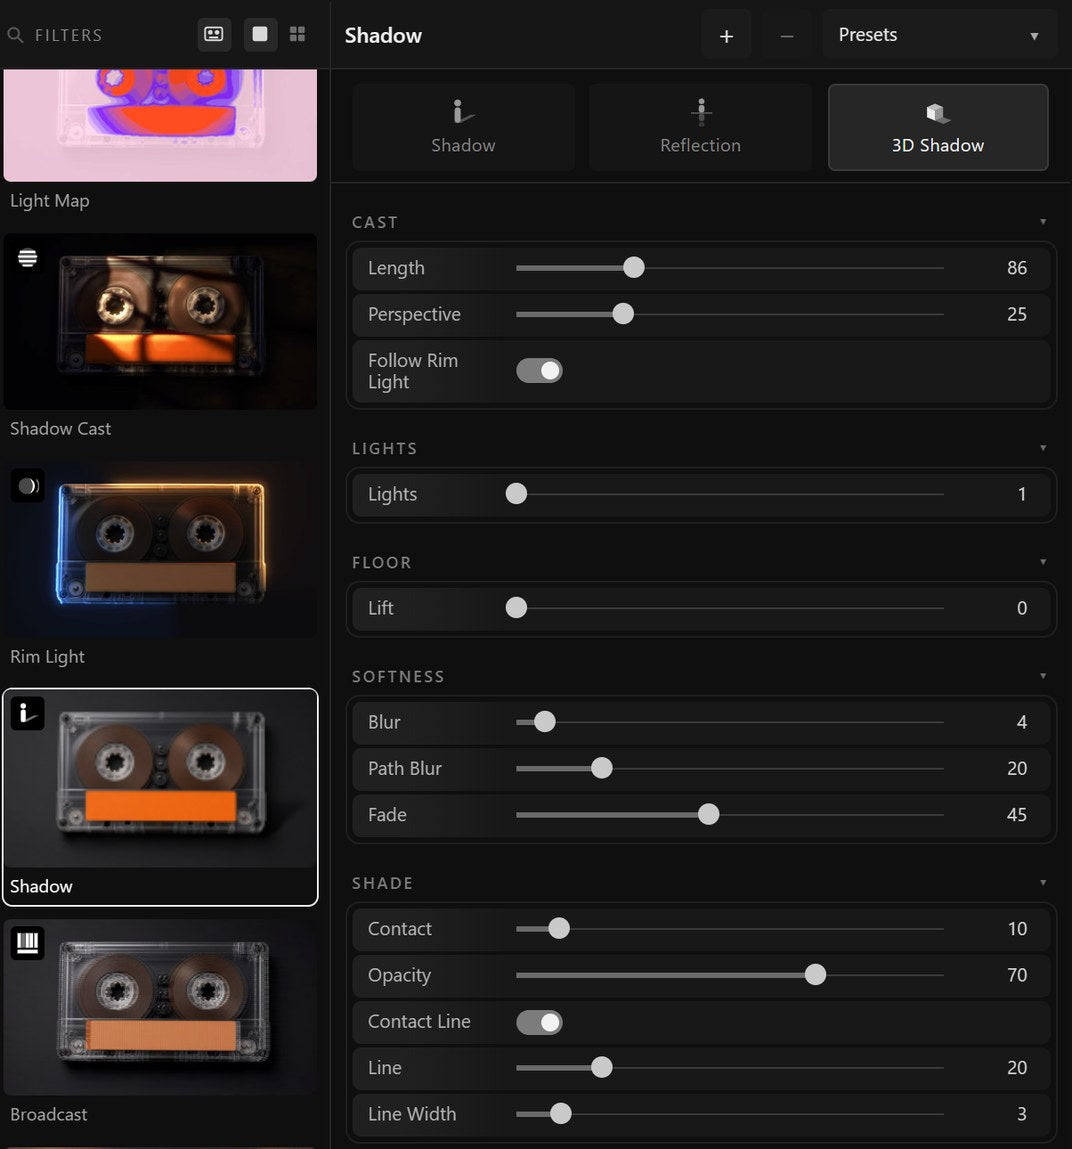
Filter Archive's Shadow filter does all of the above as one filter in Photoshop. Pick the cut-out, or let Select Subject find it in a photo, choose a preset like Studio Floor, Hard Sun or Golden Hour, and drag the shadow's tip on the preview to aim it. It keeps the feet planted, softens the shadow by how high above the floor each part is, fades it with distance and adds the contact pool and a thin Contact Line. Wall, Lift, arena Lights, a glossy-floor Reflection and a 3D Shadow for cars are all settings on the same filter.
Apply puts the shadow on its own Multiply layer under your cut-out, so you can still fade, mask or blur it the usual way. See 8 examples.